Java 1.8 설치
Java 설치는 간단하다.
sudo apt-get install openjdk-8-jdk
설치 후
java -version
통해 버전 확인하면
openjdk version "1.8.0_252"
OpenJDK Runtime Environment (build 1.8.0_252-8u252-b09-1~18.04-b09)
OpenJDK 64-Bit Server VM (build 25.252-b09, mixed mode)
창이 나오면 된 것이다.
Tomcat 9.0 설치
Tomcat 9.0 설치도 java와 비슷하다.
sudo apt-get install tomcat9입력해 설치한다.
이후 nginx처럼
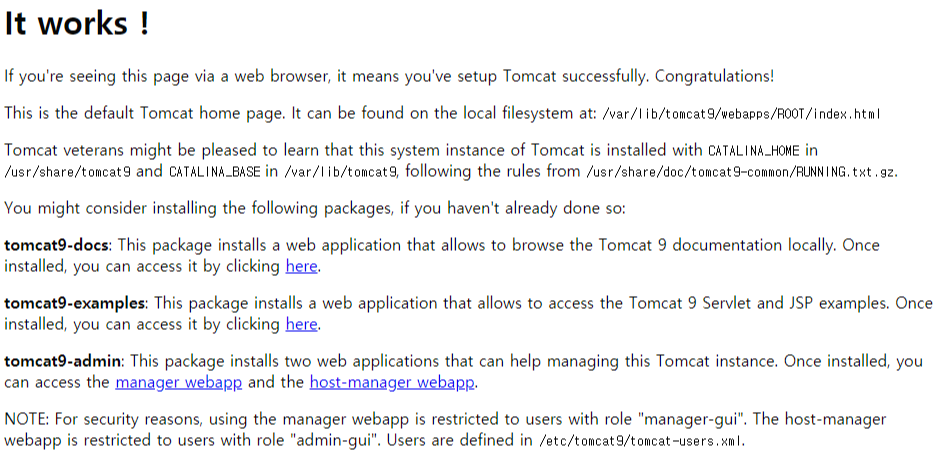
(AWS주소):8080 크롬에 입력해 다음과 같은 창이 나오면 성공한 것이다.
***nginx를 Tomcat에 연동하기
회원 가입을 하는 사용자가 일일히 포트번호(12.234.456.678:8080)이렇게 쓰면서 들어가진 않을 것이다.
그래서 우리는 주소만 쓰고도 nginx가 알아서 tomcat 페이지에 들어가도록 만들어야 한다.
sudo vim /etc/nginx/sites-available/default
입력해 들어가면 어디로 들어가면서 다음과 비슷한 창이 나온다.
##
# You should look at the following URL's in order to grasp a solid understanding
# of Nginx configuration files in order to fully unleash the power of Nginx.
# https://www.nginx.com/resources/wiki/start/
# https://www.nginx.com/resources/wiki/start/topics/tutorials/config_pitfalls/
# https://wiki.debian.org/Nginx/DirectoryStructure
#
# In most cases, administrators will remove this file from sites-enabled/ and
# leave it as reference inside of sites-available where it will continue to be
# updated by the nginx packaging team.
#
# This file will automatically load configuration files provided by other
# applications, such as Drupal or Wordpress. These applications will be made
# available underneath a path with that package name, such as /drupal8.
#
# Please see /usr/share/doc/nginx-doc/examples/ for more detailed examples.
##

# Default server configuration
#
server {
        listen 80 default_server;
        listen [::]:80 default_server;

        # SSL configuration
        #
        # listen 443 ssl default_server;
        # listen [::]:443 ssl default_server;
        #
        # Note: You should disable gzip for SSL traffic.
        # See: https://bugs.debian.org/773332
        #
        # Read up on ssl_ciphers to ensure a secure configuration.
        # See: https://bugs.debian.org/765782
        #
        # Self signed certs generated by the ssl-cert package
        # Don't use them in a production server!
        #
        # include snippets/snakeoil.conf;

        root /var/www/html;

        # Add index.php to the list if you are using PHP
        index index.html index.htm index.nginx-debian.html;

        server_name _;

        location / {
                # First attempt to serve request as file, then
                # as directory, then fall back to displaying a 404.
                try_files $uri $uri/ =404;
        }

        # pass PHP scripts to FastCGI server
        #
        #location ~ \.php$ {
        #       include snippets/fastcgi-php.conf;
        #
"/etc/nginx/sites-available/default" 91L, 2416C                     1,1           Top
여기서 우리가 수정할 곳은
        location / {
                # First attempt to serve request as file, then
                # as directory, then fall back to displaying a 404.
                try_files $uri $uri/ =404;
        }
이 부분이다.
여기를 i룰 눌러 수정 모드로 바꾼 후,(제일 아래에 ----INCERT----이렇게 뜰 것이다)
다음과 같이 수정한다.
  location / {
                # First attempt to serve request as file, then
                # as directory, then fall back to displaying a 404.
 		# try_files $uri $uri/ =404;

        proxy_pass http://localhost:8080;
        proxy_set_header X-Real-IP $remote_addr;
        proxy_set_header X-Forwarded-For $proxy_add_x_forwarded_for;
        proxy_set_header Host $http_host;

        }
일단 css가 로드되도록 기존에 있었던 try_files $uri $uri/ =404; 여기를 주석 처리했고.
아래에 프록시 설정 내용인 네 줄을 추가했다.
esc 눌러 수정 모드 해제, :wq!입력 후 enter 눌러 설정 저장 후 화면을 나온 뒤
sudo service nginx restart
명령어로 nginx를 재시작한다.
그 뒤 크롬에 (AWS주소) 입력하면 Tomcat의 첫 화면인 It Works!(이 글 윗부분에 스크린샷 있음)가 뜬다면,
연동이 잘 된 것이다!
FTP 설정(mobaXterms)
FTP 설정을 통해 우리가 만든 index 페이지를 바꿀 수 있다.
SSH 설정 했을 때와 같이, Session 페이지의 SFTP에서 private key를 설정한다.

OK를 누르면 탐색기 화면이 생긴다.

우리가 바꾸고 싶은(또는 처음에 나오는)index 파일은 아까 봤던 It works!의 두 번째 줄에 있다,
This is the default Tomcat home page. It can be found on the local filesystem at: /var/lib/tomcat9/webapps/ROOT/index.html
이 경로를 그대로 따라가 보면(.. 눌러 가장 상위 폴더로 올라가야 보인다)

다음과 같이 index.html을 볼 수 있을 것이다.
여기에 내가 만든 index.html을 여기에 붙여넣어 보면 아래에
SFTP error #3: Permission denied
와 같이 에러가 뜰 것이다.
수정 권한이 없으므로 시스템에서 막은 것이다.
다시 ubuntu 창으로 돌아가서,
cd /var/lib/tomcat9/webapps/ROOT/
로 ROOT 폴더로 이동한다.
이후 ubuntu 유저에세 이 폴더의 수정 권한을 부여하기 위해
sudo chown -R ubuntu:ubuntu .
을 입력한다.
(기존에 있던 index.html은 혹시 모르니 백업해 두자.)
그런 후 index를 바꿔본 뒤 AWS 주소를 입력하면,

이렇게 내가 바꾼 index 페이지를 볼 수 있다!
--끝!
'AWS' 카테고리의 다른 글
| AWS Ubuntu에서 Docker 설정, 이미지 파일 생성 및 실행, 공유 (0) | 2020.07.08 |
|---|---|
| 잡담_AWS 접속 시 network error_ connection timed out (8) | 2020.05.02 |
| AWS ubuntu 환경 설정하기 2_MySQL, nginx 설치 (0) | 2020.04.26 |
| AWS ubuntu 환경 설정하기 1_인스턴스 설치 및 mobaXterm 설정 (0) | 2020.04.26 |


